
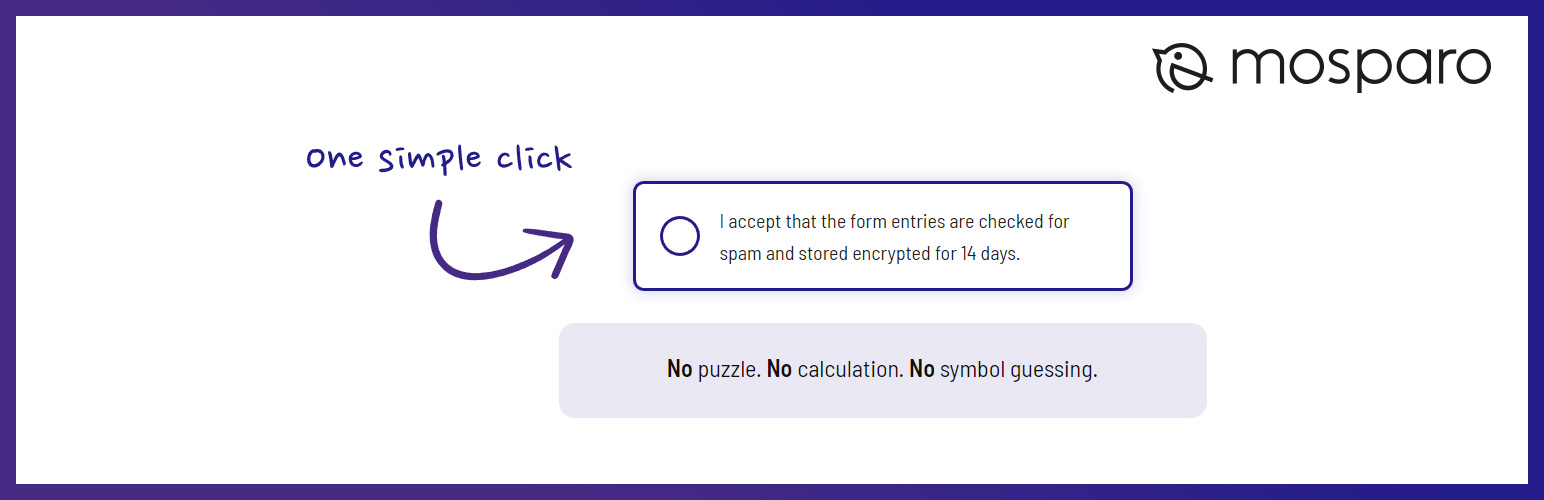
mosparo Integration

mosparo Integration

توسط

If you want to protect your forms in WordPress with mosparo, this plugin will help you with this task. After installing the plugin, you have to configure the connection to your mosparo installation and add the mosparo field to your form. The mosparo Integration plugin is compatible with the following plugins and forms:

  • Contact Form 7
  • Divi Contact Forms (not Email Optin or Login forms)
  • Elementor Form
  • Everest Forms
  • Formidable (please turn off the honeypot protection in the global settings of Formidable)
  • Forminator (only forms, not polls or quizzes)
  • Gravity Forms
  • JetFormBuilder
  • Memberpress Account Forms (login, lost password)
  • Ninja Forms (3.0+ and WordPress 6.7+)
  • Ultimate Member Account Forms (login, lost password, and registration)
  • WPForms
  • WooCommerce Account Forms (login, lost password, and registration)
  • WordPress Account Forms (login, lost password, and registration) (also compatible with Theme My Login)
  • WordPress Comments (and WooCommerce Reviews)

To use this plugin, you need an installation of mosparo so that the plugin can communicate with mosparo. Please find all information regarding mosparo on the website mosparo.io.

You can use different projects for the different modules. For example, this is useful for using mosparo for the account forms. There, you want to enable the lockout security setting in mosparo. However, this security setting may not be active for standard contact forms, so you must use two mosparo connections to two individual projects in mosparo.

Automatic installation

  1. Go to the Plugins Menu in WordPress
  2. Search for “mosparo Integration”
  3. Click “Install”

Manual download

  1. Download the plugin from the plugin site on wordpress.org
  2. Extract the ZIP file
  3. Upload the “mosparo-integration” folder to the /wp-content/plugins/ directory
  4. Activate the plugin through the “Plugins” menu in WordPress

After installing and activating the plugin, please go to “Settings” > “mosparo Integration” and add a connection to your mosparo installation. See the Configuration section for more information.

Configuration

You can find all mosparo settings under “Settings” > “mosparo Integration” in the WordPress administration. Add at least one connection and enable the modules you want to use mosparo with. You can find all the information you need for the connection in the project settings in your mosparo project.

Define the connection in `wp-config.php`

If you want to define the mosparo connection in the WordPress configuration file (wp-config.php), follow the following steps:

  1. Open the wp-config.php file in an editor.
  2. Find the following line:
/* That's all, stop editing! Happy publishing. */
  1. Add the following lines before the found line. Replace the placeholders (for example, <Project-UUID>) with the connection settings provided by your mosparo project.
define('WP_MOSPARO_HOST', '<URL-of-your-mosparo-installation>'); // Starting with https://
define('WP_MOSPARO_UUID', '<Project-UUID>');
define('WP_MOSPARO_PUBLIC_KEY', '<Project-Public-Key>');
define('WP_MOSPARO_PRIVATE_KEY', '<Project-Private-Key>');
define('WP_MOSPARO_VERIFY_SSL', true); // Should be true but if you do not have a valid certificate, change this to false
  1. Open the WordPress Administration and go to the mosparo Integration settings.
  2. Enable the modules you want to use.

It’s possible to add only one connection in the wp-config.php file, which will be the default connection for all modules. You can add additional connections in the WordPress administration, which then overrides the connection from the wp-config.php file.

Configure network-wide connection

If you have a WordPress multisite network, you can enable the mosparo Integration plugin network-wide and configure the enabled modules and the available connections in the network settings.

Go to “Settings” > “mosparo Integration” in the network administration, add connections, and enable modules.

Important: A website can always add additional connections and enable additional modules.

Default connection priority

The origin of a connection will select the connection for a module:

  1. The wp-config.php file connection is always the default connection.
  2. (Multisite only) If a connection is defined for a module in the network settings, the connection from the network settings will be used.
  3. If a connection is defined for a module in the website settings, the connection from the website settings will be used.

سوالات متداول

پرسش و پاسخی برای این آیتم موجود نیست.
تصویری برای این آیتم موجود نیست.
نظری برای این آیتم موجود نیست.
0 0 رای ها
امتیازدهی
اشتراک در
اطلاع از
0 نظرات
قدیمی‌ترین
تازه‌ترین بیشترین رأی
نسخه حجم فایل SHA256 تغییرات دانلود
1.17.0 407 کیلوبایت -
دانلود
×
★★★★★
★★★★★
5.0 /5 (5 نظر)

قیمت:

رایگان

نگارش

1.17.0

آخرین انتشار

15 اردیبهشت 1405

آخرین بروزرسانی

3 ماه پیش

نصب های فعال

800+

نگارش وردپرس

وردپرس 5.4+

تست شده از نسخه

وردپرس 6.9.4

نگارش PHP

PHP 7.4+

نسخه ها

1 نسخه